Building our Pond
Building our Pond - June 2003
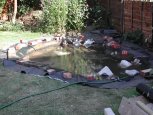
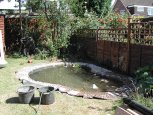
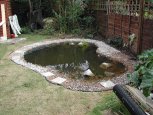
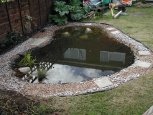
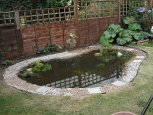
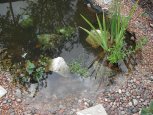
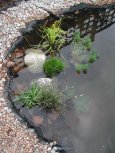
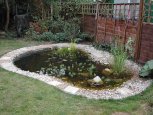
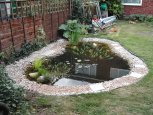
While our house extension was being built, we decided to take advantage of the digging equipment to put a wildlife pond in our garden. This is the story of its construction and maturation in photographs. Please click on the thumbnail to see a detailed image.
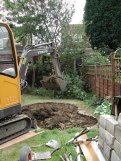
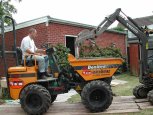
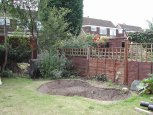
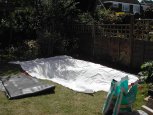
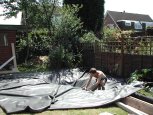
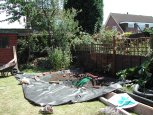
| The easy way to dig a pond - the digger was here so we took advantage | Soil from the pond is taken away in the oversized Tonkatruck :-) | Here is the basic hole - needed a bit of profiling but it was basically there | We lined it with sand, and then put this underlay in - it's a bit like quilting material | Stephen is putting the butyl rubber liner in place - we bought rather a lot! |
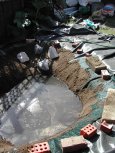
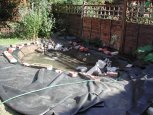
| We fiddled around with all kinds of net and mesh to get the soil to stick to the sides of the pond | At last - we started filling it at around 4pm... | Still filling..... | Almost there - it took three hours! We trimmed off the surplus liner in the meantime | The next day we started finishing off the edge with stones and gravel and some stepping stones |
| That's better - we neatened off the edge and put in a few oxygenators and the water cleared quite quickly | The pond is nice and clear now, and ready for more plants | And here they are - we bought oxygenators, native marginal plants and ten snails | Some of the plants - iris, dwarf bulrish, purple loosestrife, water violet, spiral rush, water mint.... | And some more - a couple of sedges, more oxygenators and more snails. This is a week after filling.... |
| A few weeks later, and the pond is maturing nicely - the plants have grown and flowered, and the water lilies are becoming established | Another view of the plants - Willoughby is snoozing in the background. The snails have reproduced too - I counted 29 one day! |
